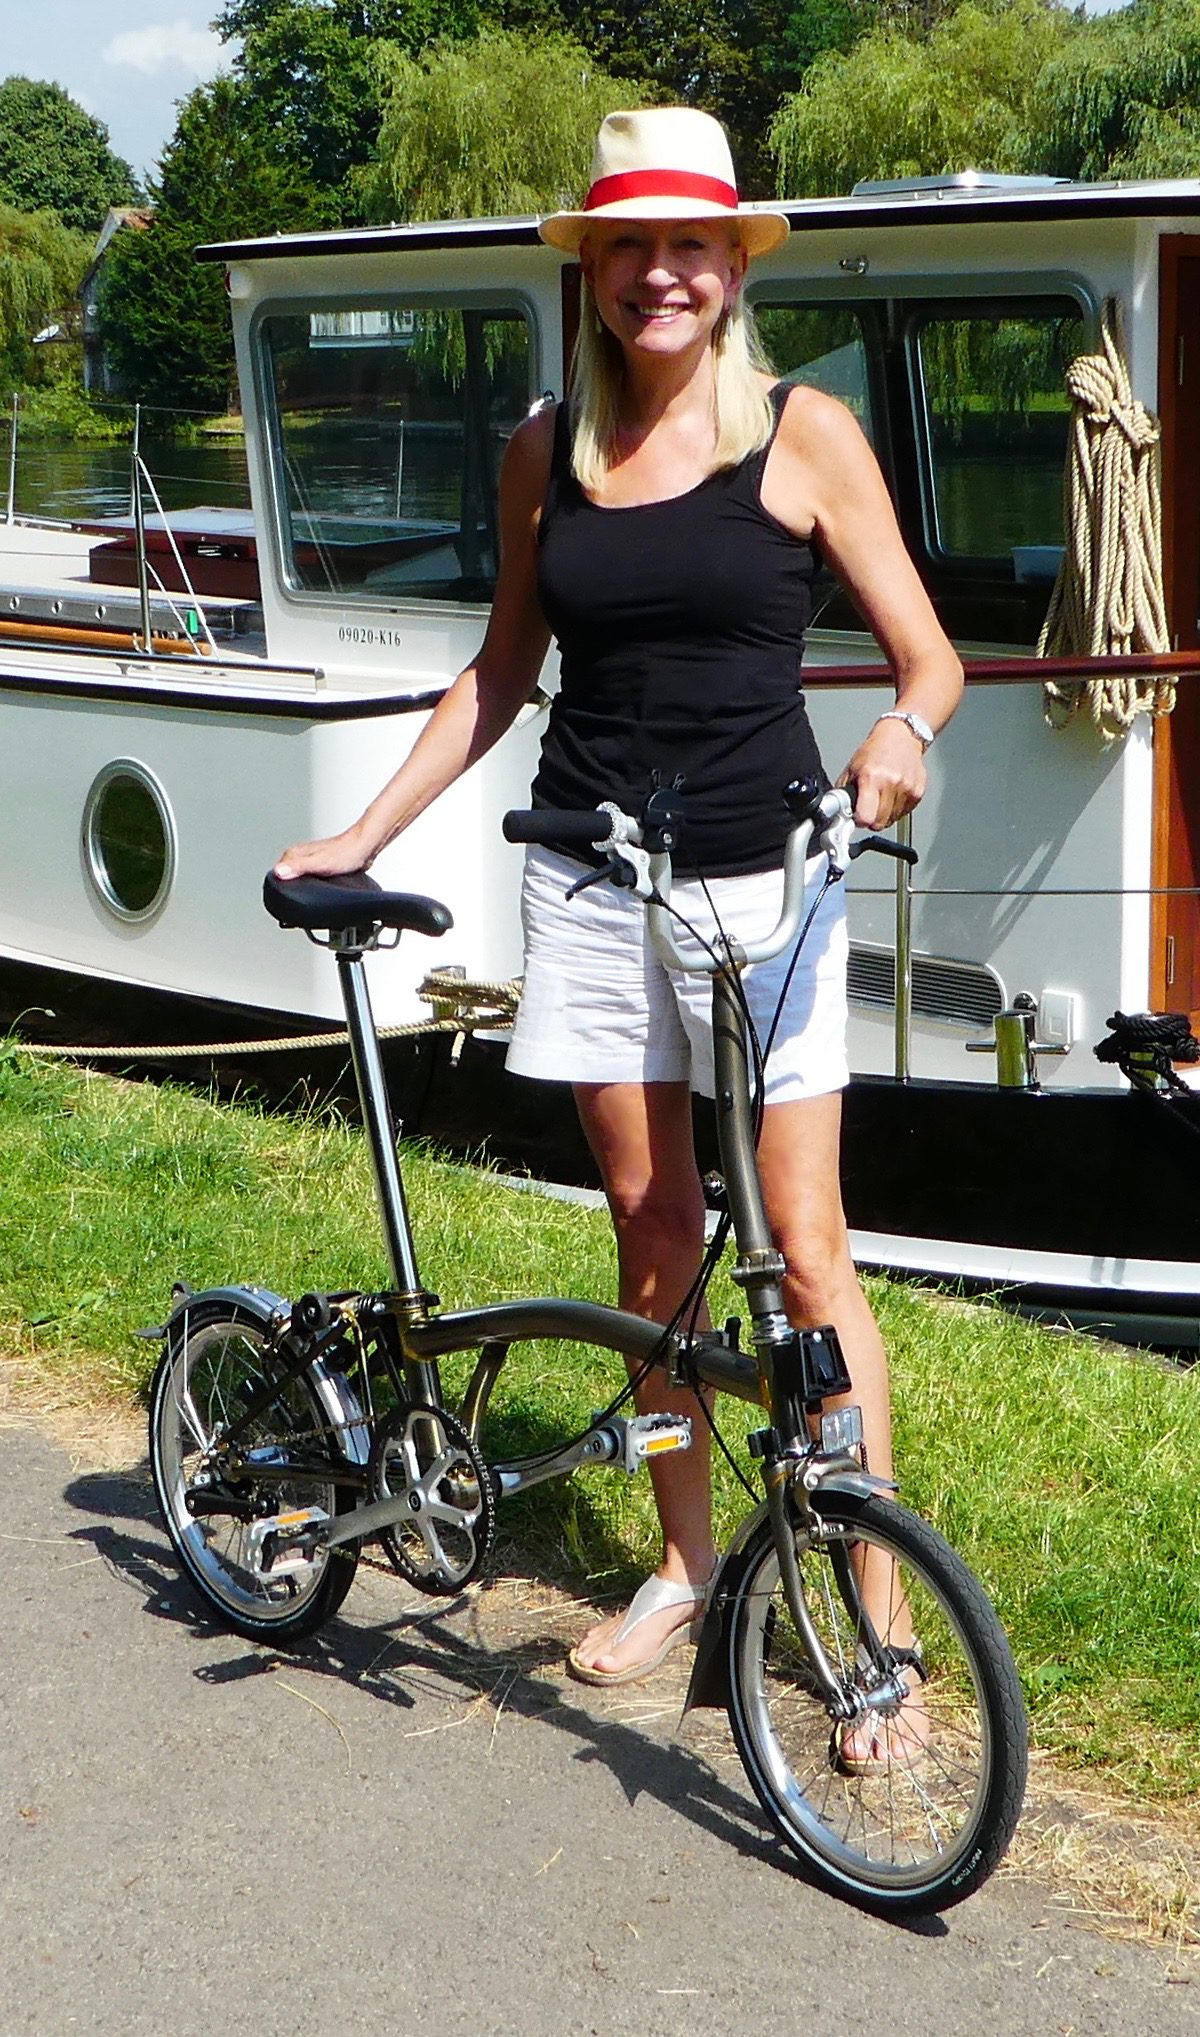
From the start, I had my doubts about this bike business. I thought we wouldn’t ride them enough to justify the expense. But once Roy gets the bit between his teeth, there’s no stopping him.
Folding bikes would be more compact, and therefore easier to stow away neatly in a hatch built for the purpose on the aft deck of our Dutch barge, Karanja. Roy’s research showed that Brompton bikes were the best; Brompton bikes we would have.
Something else worried me about the idea of a folding bike – or a folding anything, really: It would have to be unfolded before use, and then refolded after use. You see, I’m somewhat mechanically challenged, to put it politely… which my husband sadly fails to do. Watching my ineptness with regard to anything from a re-sealable cardboard box to a toddler-proof stair-gate to a Magimix, his initial mild wonder develops into disbelief, frustration and, finally, intense annoyance.
“Just look at it, surely you can see how it all fits together?” No, Roy, I can’t. I really, really can’t. So, for me and others like me, here are the:
Instructions according to Roy – 5 steps to unfolding your Brompton bike
Note: Before you start, make sure you’re standing on the left side of the bike; that is, with the saddle pointing to the left. (You see? Already that makes no sense.)
Step 1: Release the pedal (from its misery, if not your own).

Step 2: Release the grip below the saddle; pull the saddle up to the desired position; secure grip once more.

Step 3: Swing handlebars out from clip (on front fork) and secure (with clippy, twisty thing).

Step 4: Release whole of front section with little plastic, hooky thing on front wheel hub, which attaches to the rear frame, and swing it to the front. (This may not actually happen the first time. Try again.) Now secure it with the same type of clippy, twisty thing described in Step 3. (No, not the same one.) Note: When you swing the front section forward, turn the handlebars slightly so that the front wheel does not catch the stowed rear wheel.

Step 5: With your left hand on the handlebars, and your right hand on the rear of the saddle, lift the saddle while swinging the rear section out until it clips into place. (This might take a few goes.) Then wipe away your tears, blow your nose, and ride off into the sunset. And be grateful that I spared you the video version.

And now – 5 steps to folding down a Brompton bike
Step 1: Release rear section with small lever under the saddle, and swing it under the frame. The bike will now rest on its two little stabilising wheels. Note: ensure the pedal that has the clip is on the top of its arc, towards the front of the bike. (If you forgot to do this, have a little cry.)
Step 2: Release front section and swing it back so that the little black clippy thing on the front wheel hub clips over the rear frame.
Step 3: Unscrew clippy, twisty thing for handlebars, and lower into place, clipping it into clippy thing on front fork.
Step 4: Lower saddle. (Can you remember how? No, I can’t either. Still.)
Step 5: Stow collapsible pedal.
In theory, says Roy, the whole thing – whichever way you do it, up or down – should take about 20 seconds at most, and 10 on a good day.
Hah!


Verne I too have one and it takes me about two minutes at the moment to erect. I bought it for the same reason but have yet to ride! It is really only a bike, if an expensive one?
Impressed that you managed to unfold it for the pix ??? I think it’s got to be Roy’s job to do both bikes ??
Hahahahahahaha!!! Think I would rather walk.